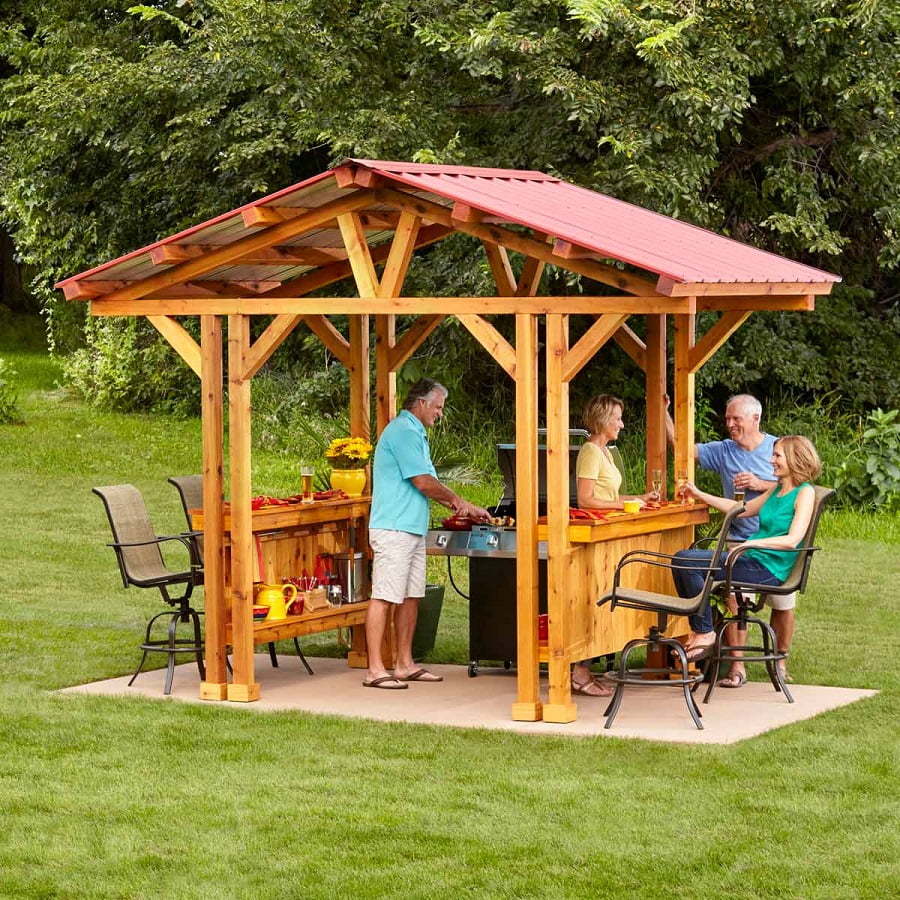
Building a Custom Grill Gazebo with Adjustable Features
Imagine this: you're hosting a backyard barbecue, the sun is shining, and you're grilling up a storm. But then, the afternoon sun starts to beat down, or a sudden breeze picks up. Wouldn't it be amazing to have a custom-built gazebo that adjusts to the weather, providing shade and protection while enhancing your outdoor cooking experience? This article will guide you through building a grill gazebo with adjustable features, so you can enjoy your grilling adventures in comfort and style.
Planning Your Grill Gazebo
Before you start building, it's crucial to plan your gazebo. This includes determining the size, materials, and features you want. Consider the following aspects:
Size and Shape
Measure your grill and the surrounding space to determine the optimal size for your gazebo. You'll want enough room for comfortable movement and storage of grilling equipment. Popular shapes for gazebos include square, rectangular, and octagonal.
Materials
Choose durable materials that can withstand the elements. Popular options include:
- Aluminum: Lightweight, corrosion-resistant, and easy to work with.
- Wood: Adds a classic and natural look, but requires regular maintenance.
- Steel: Strong and durable, but can be prone to rust.
Adjustable Features
To make your gazebo truly adaptable, incorporate adjustable elements. Here are some ideas:
- Retractable Roof: A retractable roof made of canvas or waterproof material allows you to adjust the amount of sunlight and protection from rain.
- Adjustable Side Panels: Consider using retractable side panels or zippered curtains to create a more enclosed space, providing privacy or blocking wind.
- Height Adjustment: If you have a tall grill, consider building the gazebo with adjustable height options to accommodate its size.
Constructing the Framework
Once you've finalized your design, start constructing the framework. The following steps are a general guide:
- Prepare the Base: Clear the area where your gazebo will be built. You can use concrete footings, a wooden deck, or even patio stones for a sturdy base.
- Erect the Posts: Install the vertical posts for the gazebo, ensuring they are plumb and secured to the base.
- Attach the Beams: Connect the horizontal beams to the posts using strong brackets or connectors. Make sure these are secured for stability.
- Install the Roof Supports: If your design calls for a roof, install the necessary supports to create a frame for it.
Installing the Roof and Walls
Now it's time to add the roof and walls to your gazebo:
- Choose Roofing Material: Select a durable and weather-resistant roofing material, such as metal, asphalt shingles, or waterproof fabric.
- Install the Roofing: Attach the roofing material to the roof frame, ensuring it overlaps properly for waterproofing.
- Add the Side Panels: If you opted for adjustable side panels, install them on tracks or use a simple system that allows for easy opening and closing.
Final Touches
Once the structural components are in place, it's time to add the final touches:
- Lighting: Install lighting fixtures to create a warm and inviting atmosphere for evening grilling.
- Electrical Outlets: Consider incorporating electrical outlets for convenience while grilling.
- Storage: Build shelves or cabinets within the gazebo to store grilling tools and accessories.
- Finishing: Apply a sealant or paint to the wood or metal components to protect them from the elements.
Building a custom grill gazebo with adjustable features is a great way to enhance your outdoor space. Remember to plan carefully, choose quality materials, and follow safe construction practices. With dedication and a touch of creativity, you can create a welcoming and functional space for enjoying the art of grilling in any weather!
0 comments:
Post a Comment
Note: Only a member of this blog may post a comment.